
Last updated September 20, 2026
Full 25-point door and opener safety check with every visit - springs, cables, rollers, tracks, and your LiftMaster or Chamberlain opener included
You get a price before we start. It does not change when the truck arrives.
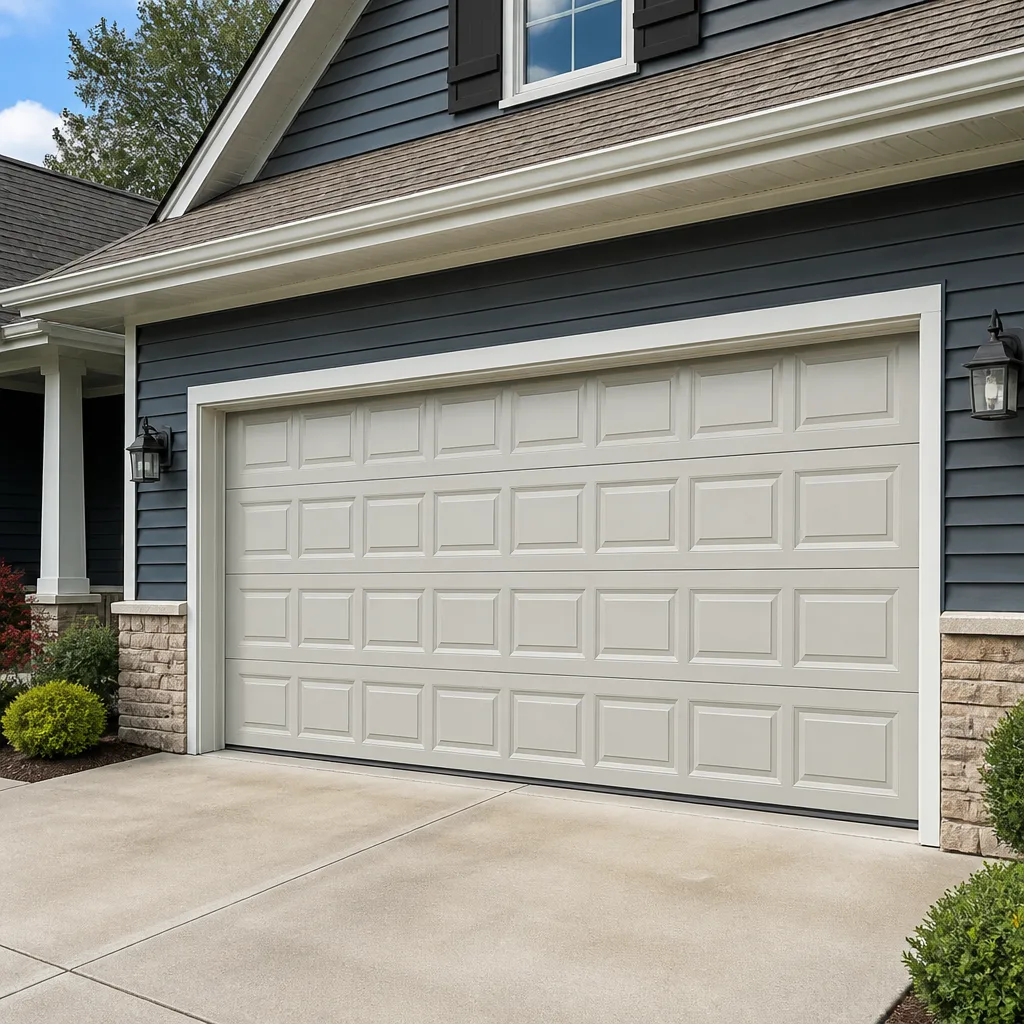
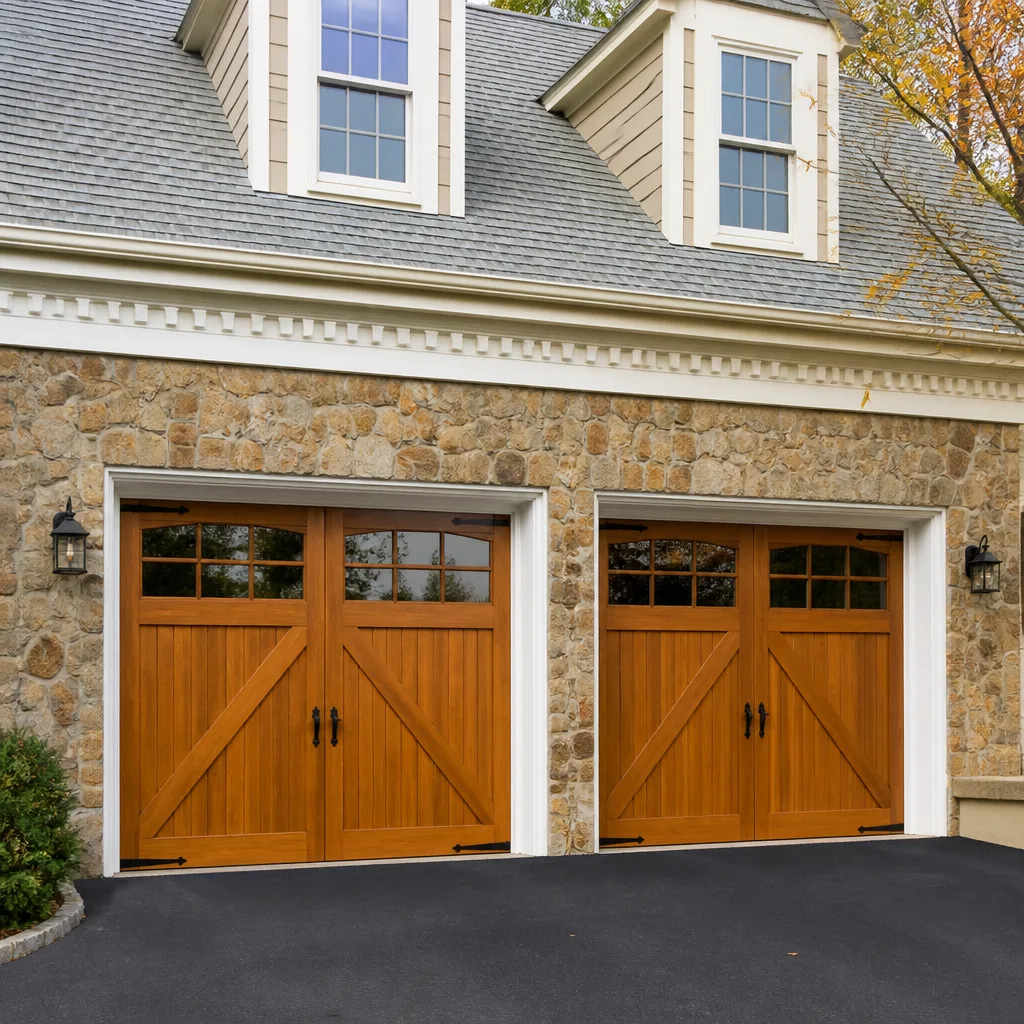
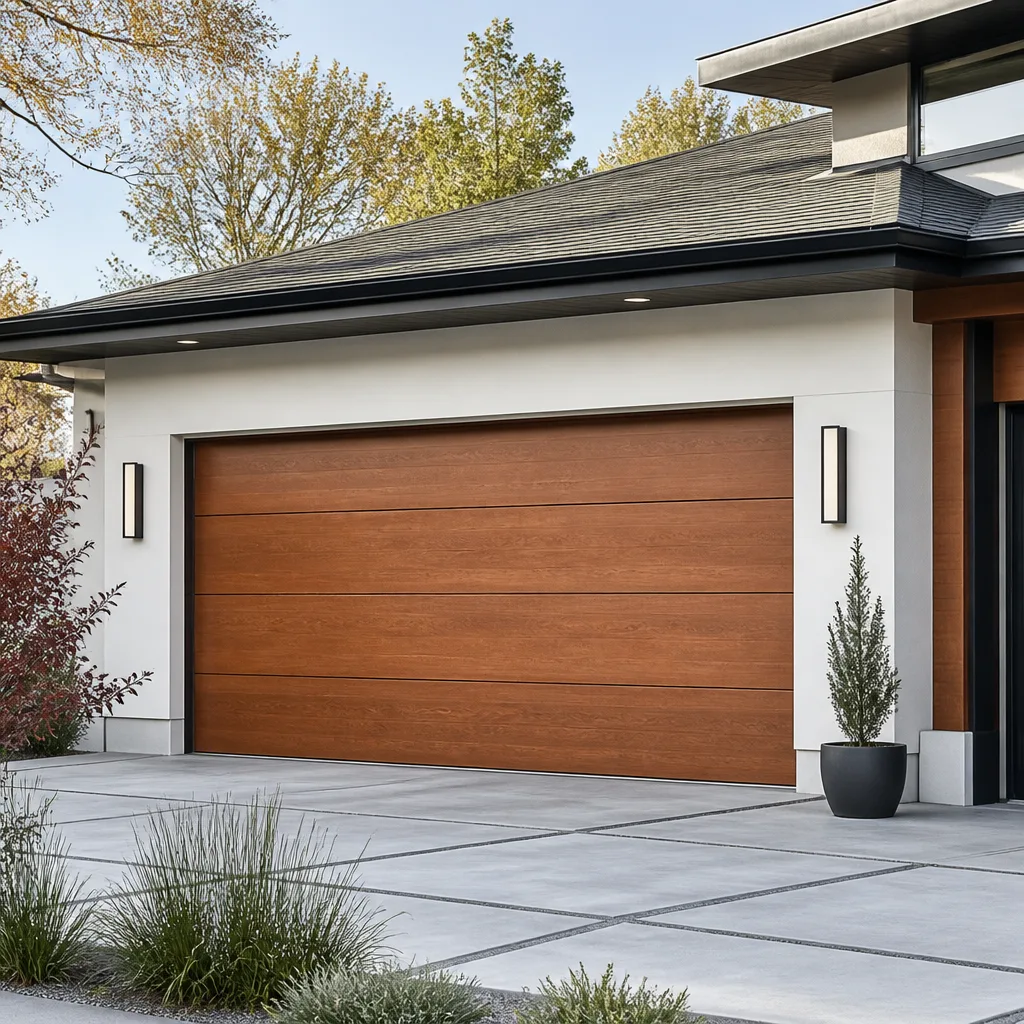
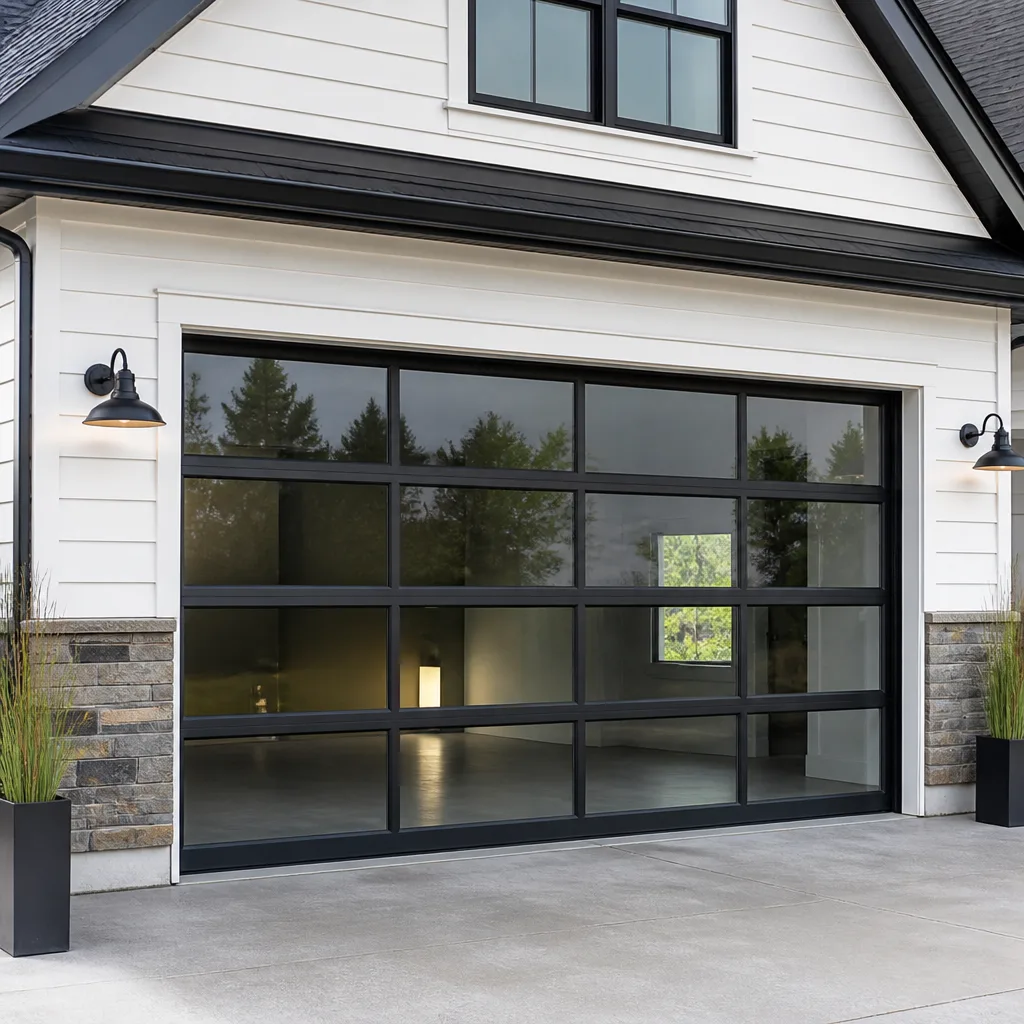
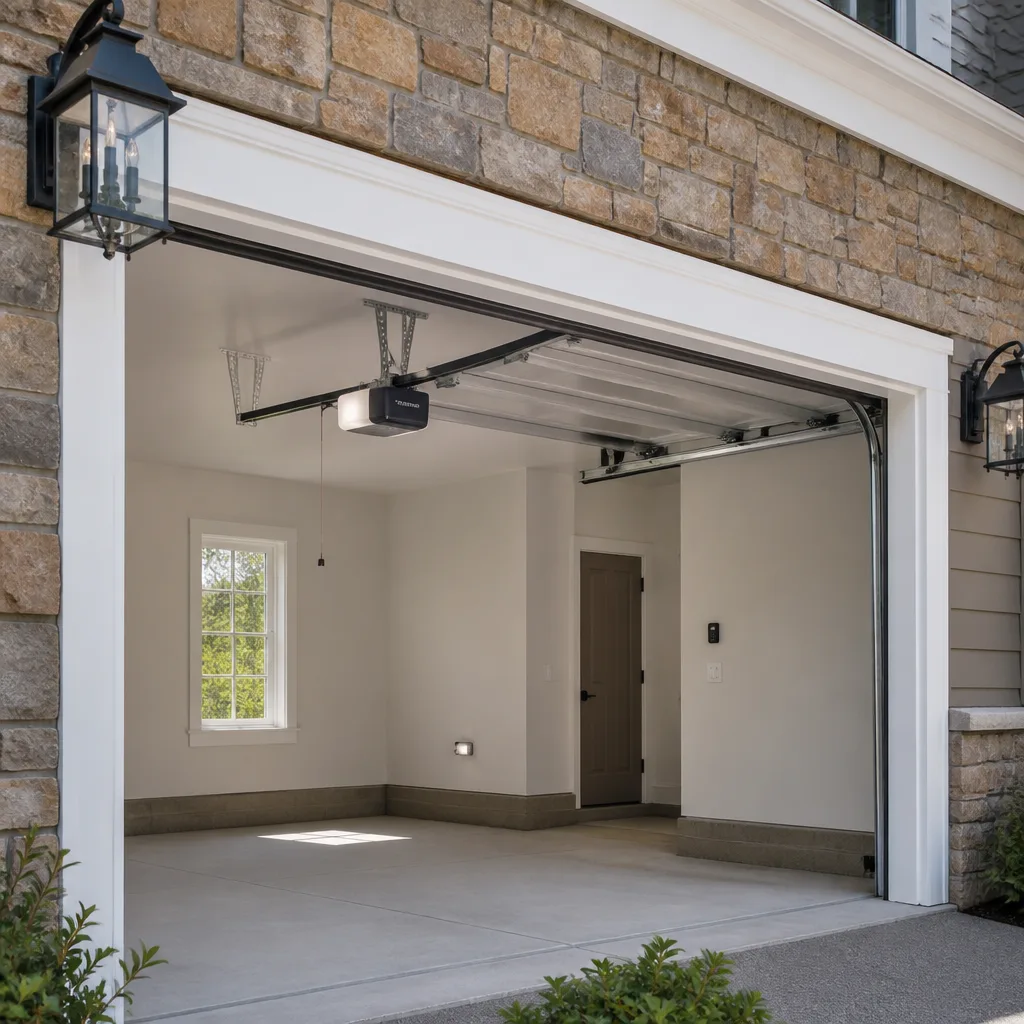
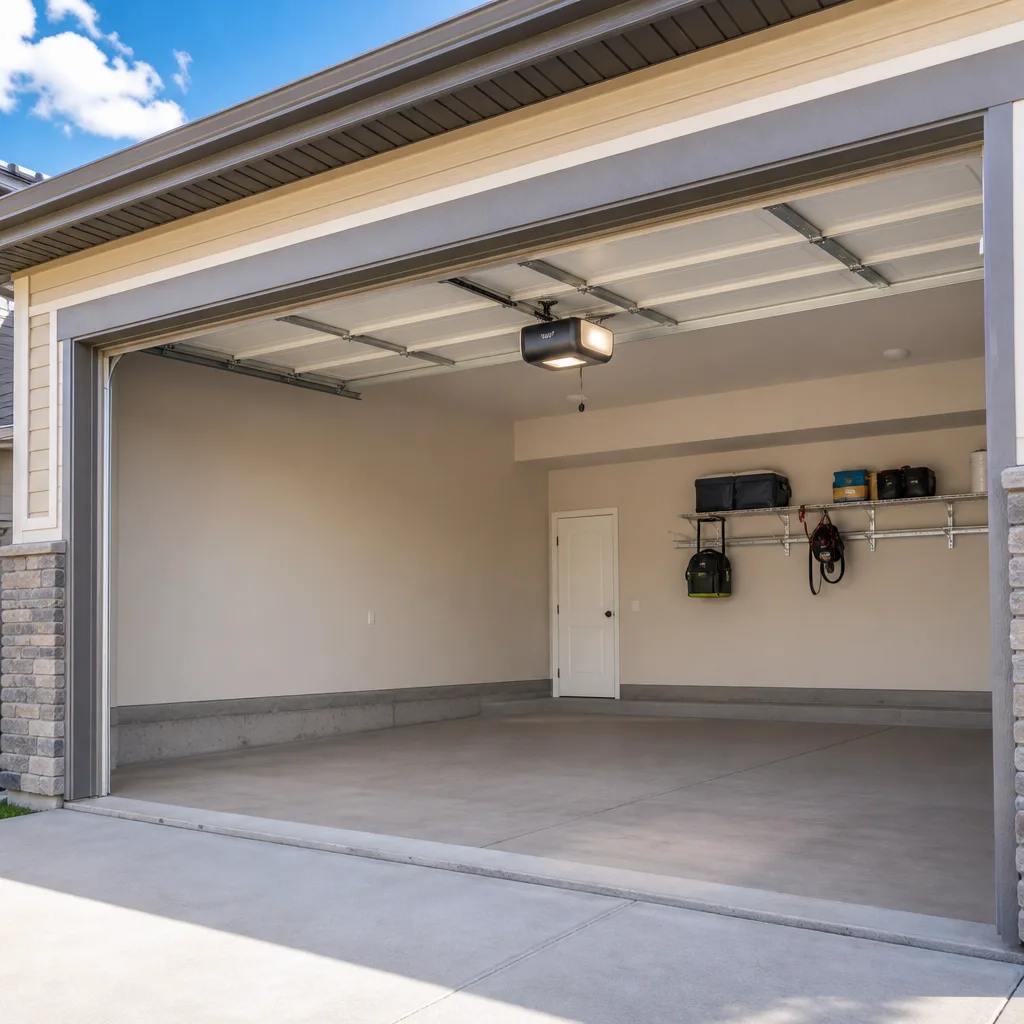
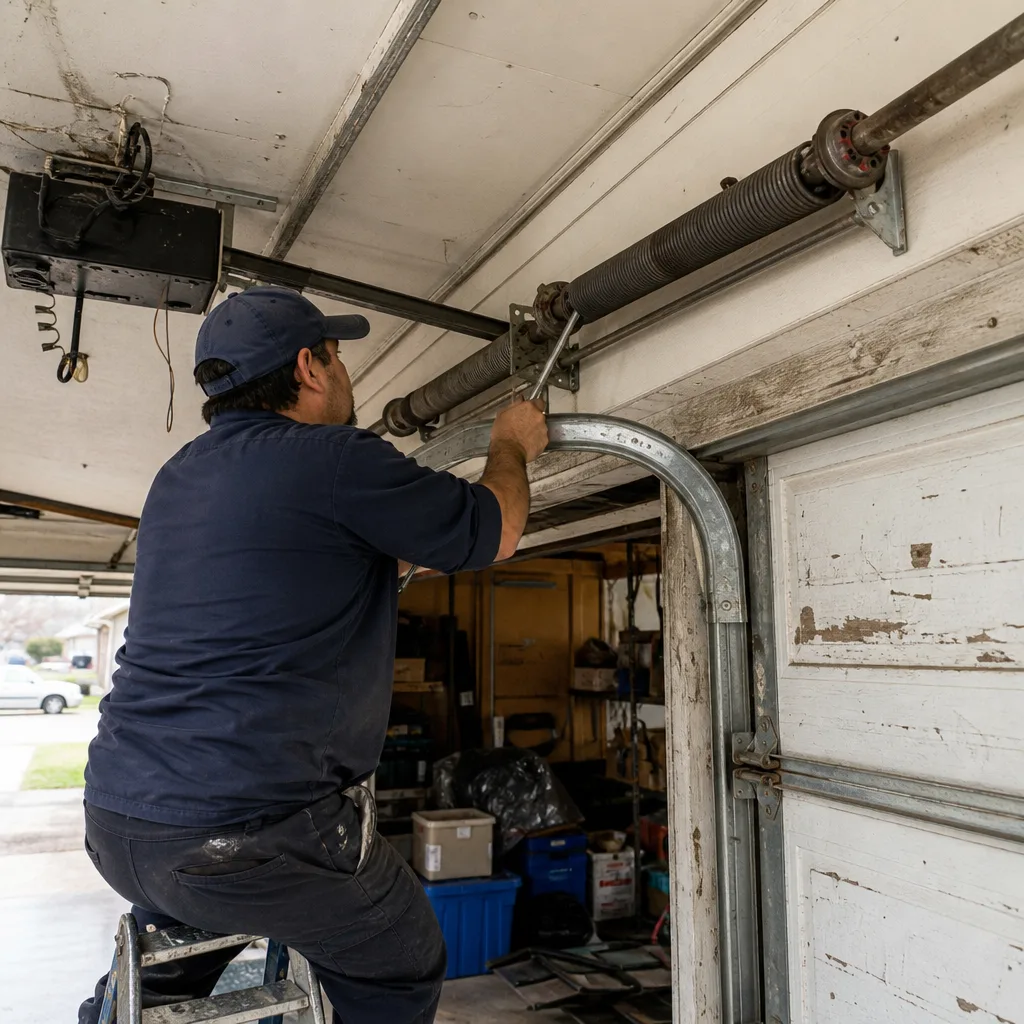 Before
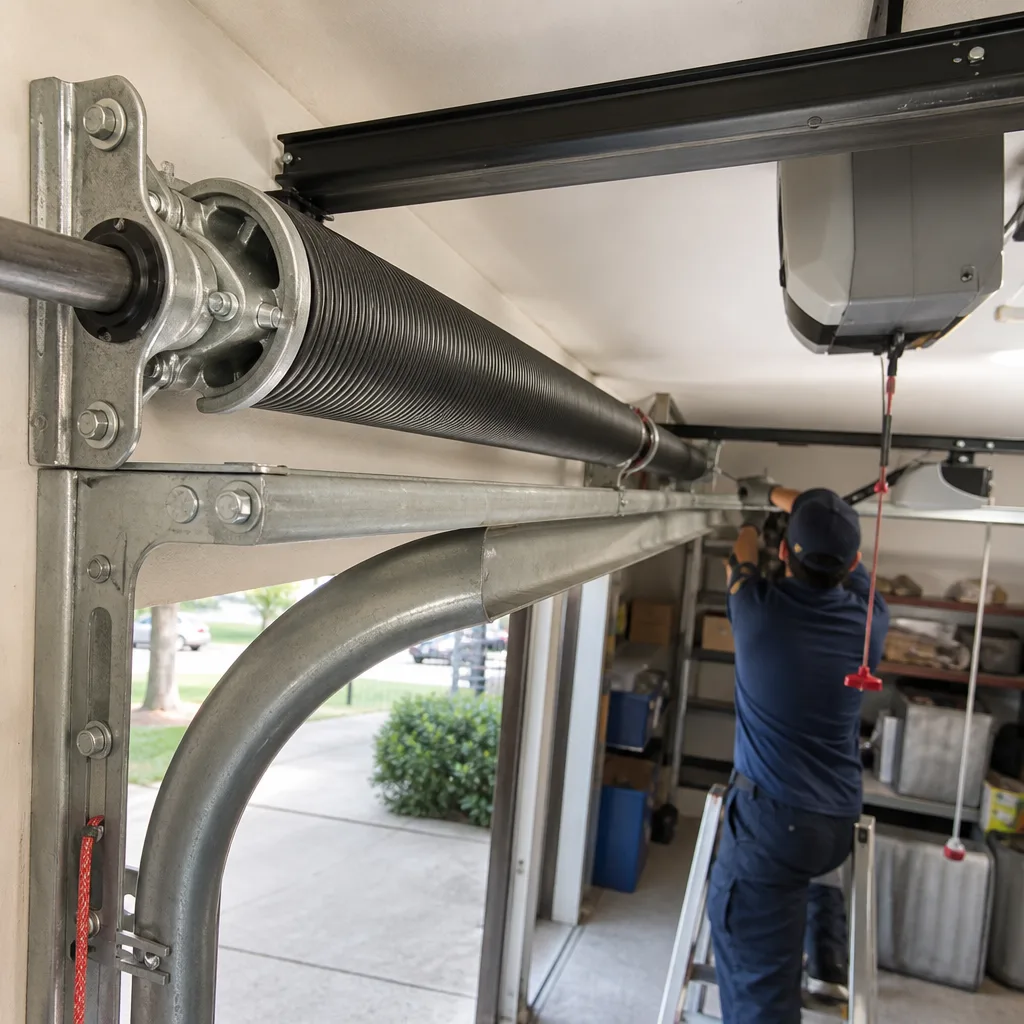 After
After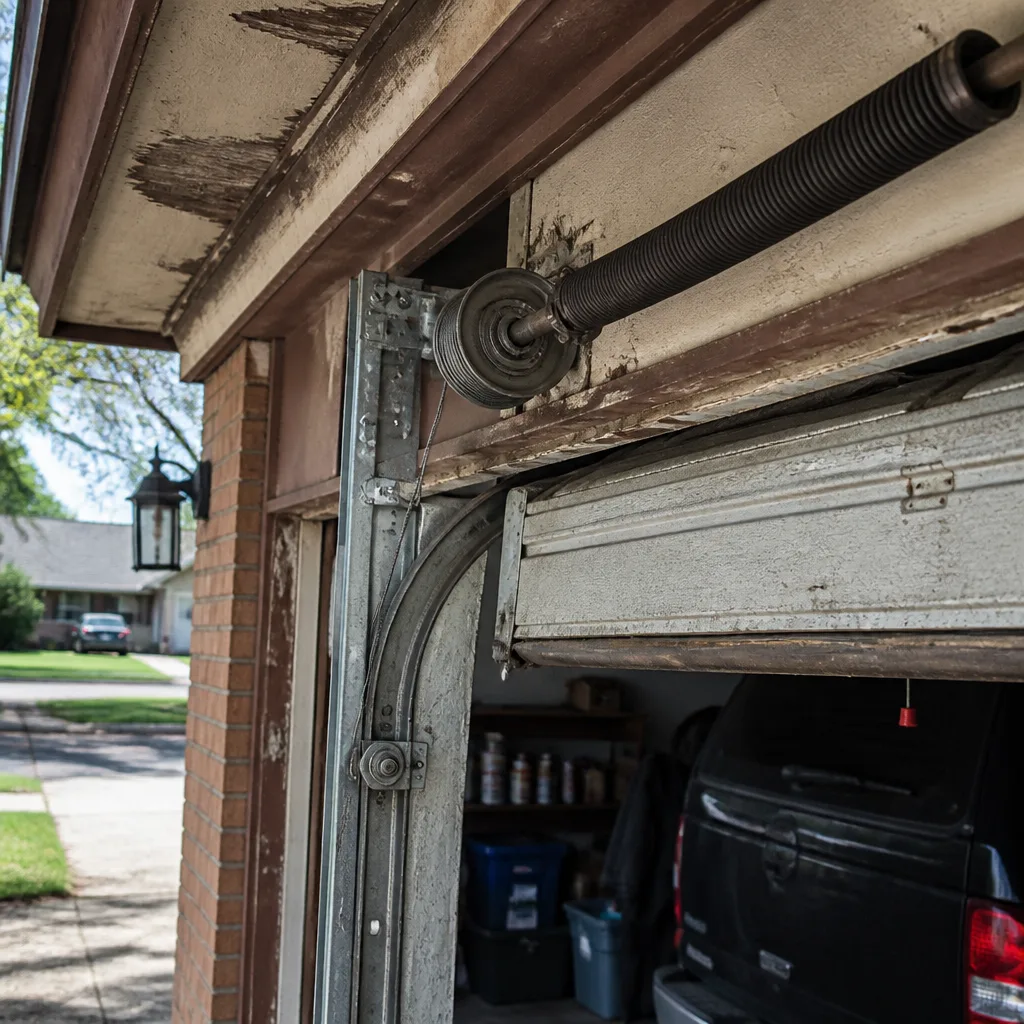 Before
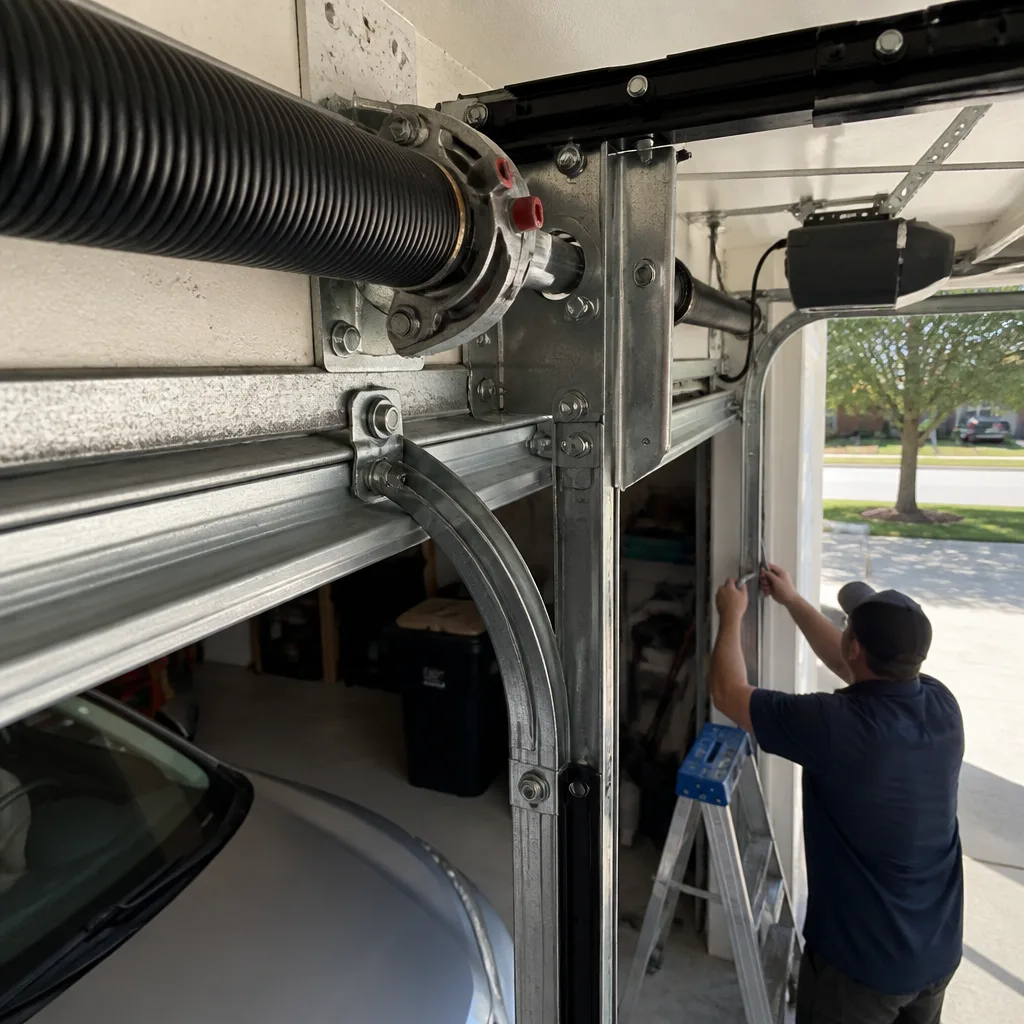 After
After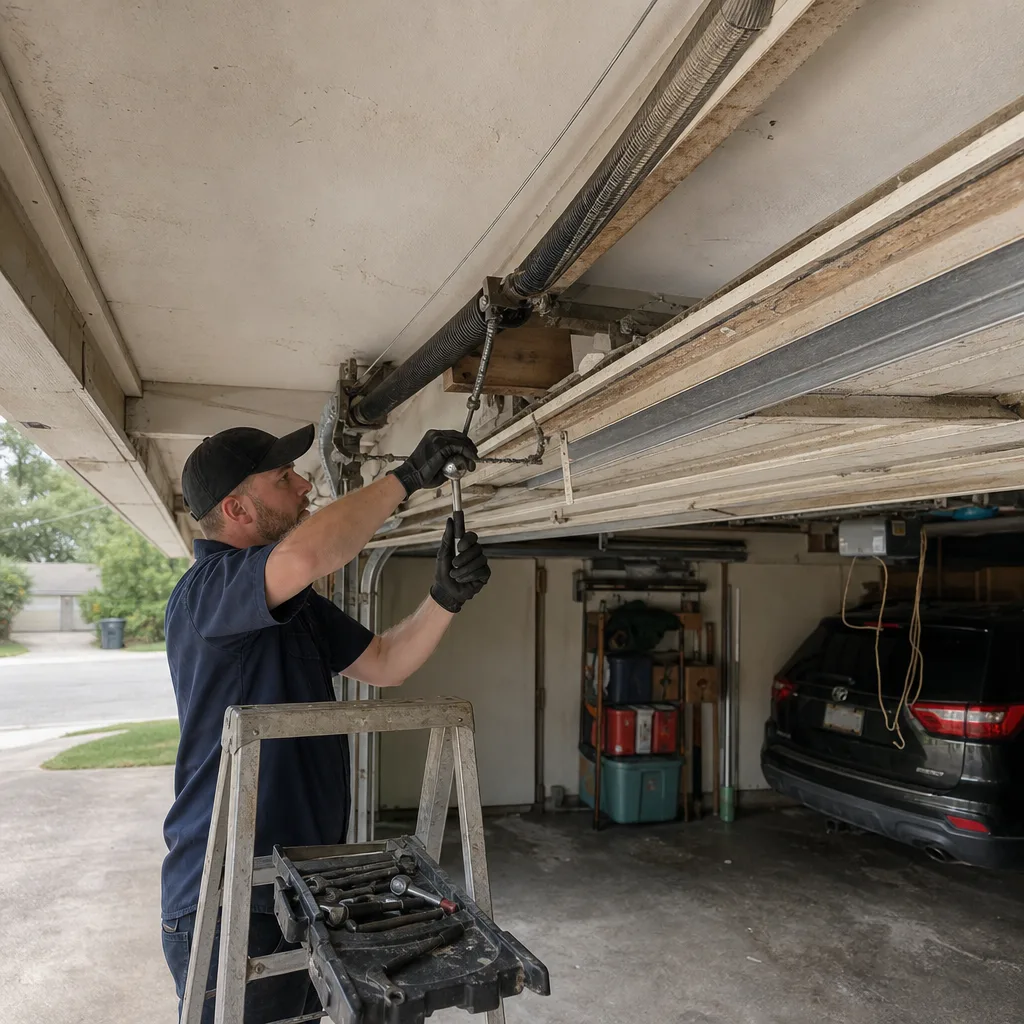 Before
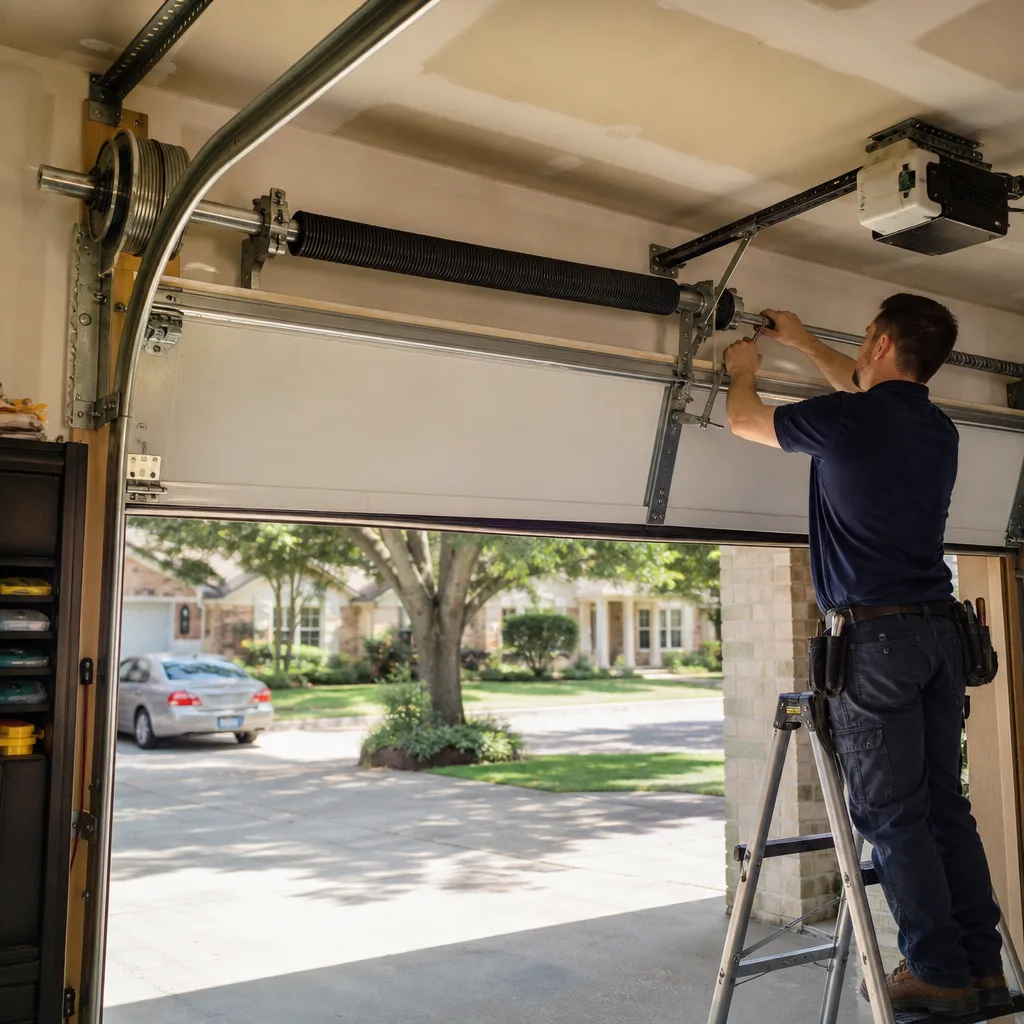 After
AfterDIY vs Professional Garage Door: The Richardson Homeowner’s Decision Guide
A torsion spring stores enough energy to fracture a wrist or worse when it releases. That is not a disclaimer. It is a physics fact that makes spring replacement categorically different from swapping a roller or a weatherseal, regardless of how complete your tool inventory is. This guide walks Richardson homeowners through every common garage door task and sorts each one into a clear category: safe to do yourself, safe with research, or leave to a licensed technician. For a full maintenance checklist tailored to Richardson homes, see our companion resource. By the time you finish reading, you will know exactly which jobs you can handle this weekend and which ones carry risk that no amount of patience eliminates.
Quick Answer
Most routine garage door maintenance in Richardson is genuinely DIY-friendly: bottom seal replacement, sensor alignment, track lubrication, and keypad programming are all tasks a careful homeowner can complete in under an hour for under $40 in materials. Before starting, check Garage Door Permits, Codes & Inspections in TX: What You Need to Know to confirm your project does not require paperwork. But torsion spring replacement, cable work, and any repair involving the door’s counterbalance system should be left to a professional, because those components remain under hundreds of pounds of tension even when the door is closed. The decision is not about skill. It is about stored energy and liability.
Table of Contents
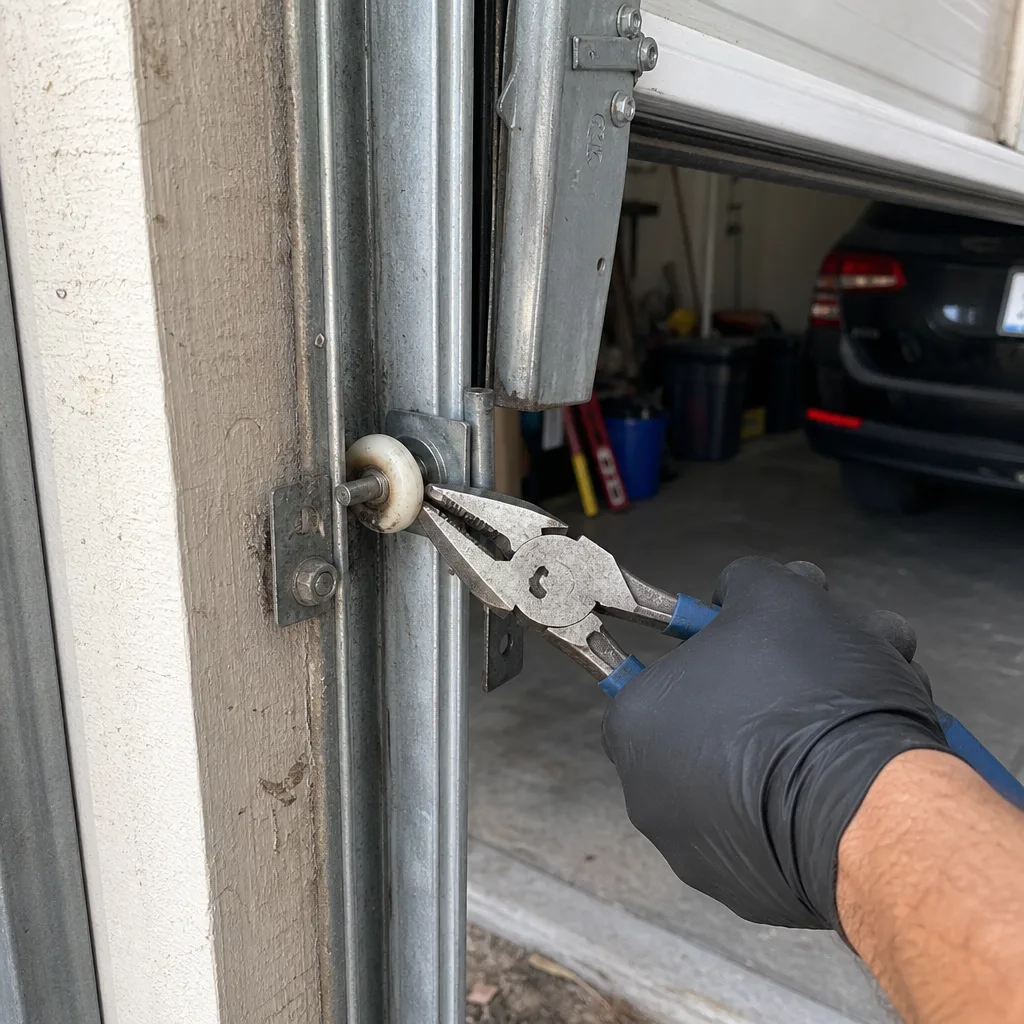
- The Task-by-Task Matrix: What You Can and Cannot Do Yourself
- Safe DIY Tasks: The Four Jobs Richardson Homeowners Do Every Weekend
- DIY With Correct Tools and Research: The Middle Category
- Professional-Only Work: The Physics of a Torsion Spring
- Insurance and Warranty: What DIY Actually Costs in Texas
- How to Document a DIY Repair Like a Professional Would
- What DIY Saves You in Richardson, in Real Dollars
- Common Mistakes to Avoid
- When to Call a Professional
- Frequently Asked Questions
- The Bottom Line
BeforeAfterThe Task-by-Task Matrix: What You Can and Cannot Do Yourself
We have organized every garage door task a Richardson homeowner is likely to encounter into three categories. The dividing line is not difficulty. It is what happens when something goes wrong. A misaligned sensor stops the door from closing. A broken torsion spring under tension can send steel through drywall. Here is the full matrix:
Category 1: Safe DIY
- Bottom seal replacement
- Sensor realignment
- Track and roller lubrication
- Keypad programming and battery replacement
- Weatherstrip replacement on the side jambs
- Manual door operation testing (pulling the red release cord)
Category 2: DIY With Correct Tools and Research
- Roller replacement on unbolted bottom rollers
- Hinge replacement on the door panels
- Opener remote pairing and wall console replacement
- Track bolt tightening and minor track alignment on non-tensioned tracks
- Replacing the door’s rubber bumpers and standoffs
Category 3: Professional-Only Due to Stored Energy or Code Implications
- Torsion spring replacement or adjustment
- Extension spring replacement on older doors
- Cable replacement or reattachment
- Drum re-setting and cable tension balancing
- Full panel replacement on a door that shares the counterbalance load
- Opener logic board replacement where line voltage is exposed
In our experience fixing garage doors across Richardson, the homeowners who call us after a failed DIY attempt almost always started in Category 2 and drifted into Category 3 without realizing the line existed. A hinge replacement turns into a cable slip when the panel shifts. A track adjustment turns into a spring unwind when the bolt releases the wrong bracket. Knowing which side of the line you are on matters more than knowing how to turn a wrench.
Safe DIY Tasks: The Four Jobs Richardson Homeowners Do Every Weekend
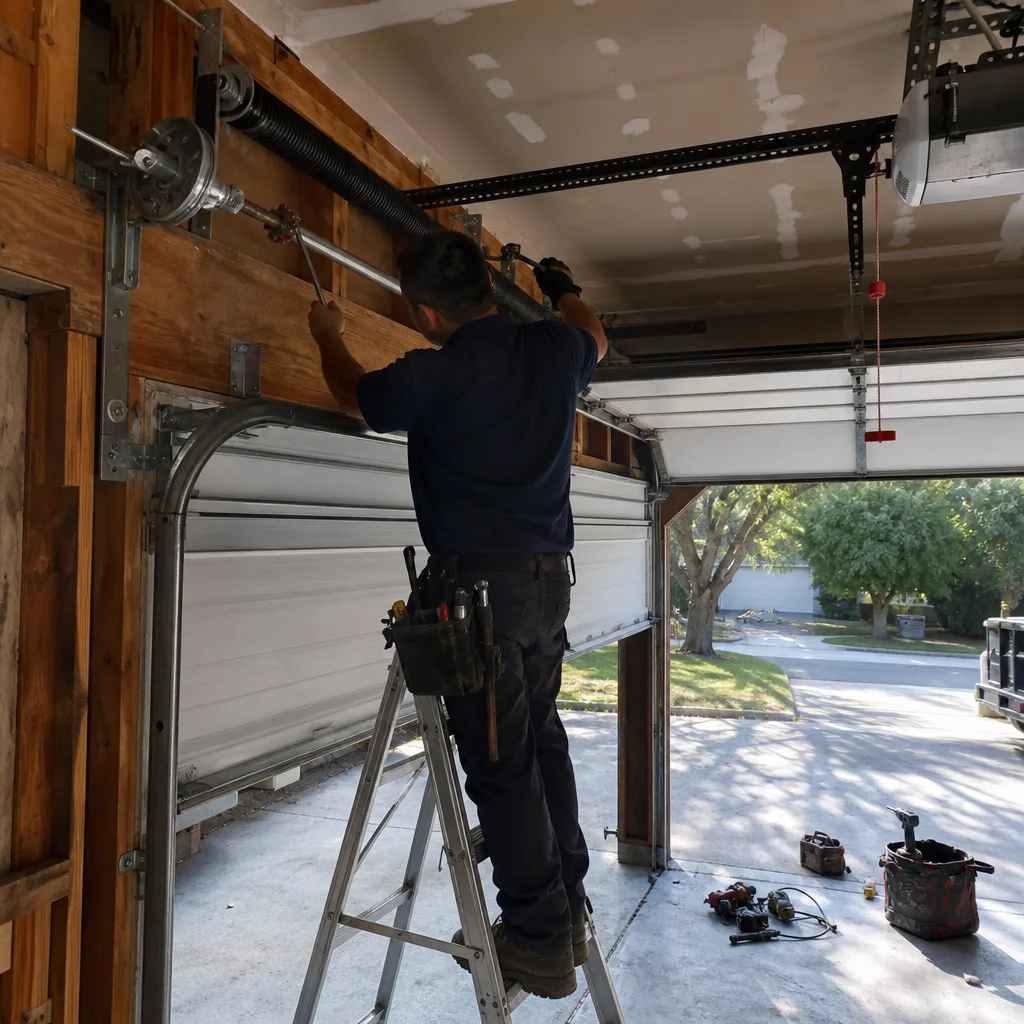
These four tasks account for the majority of routine garage door maintenance in Richardson, and none of them require you to touch a spring or a cable. Each one can be completed in under an hour, and the materials cost less than a tank of gas.
1. Bottom Seal Replacement
The rubber strip along the bottom of your door is called a U-channel seal or a bulb seal, depending on the door brand. Genie and Clopay doors both use a similar T-shaped retainer that slides out horizontally. The seal shrinks and cracks in Richardson’s summer heat, typically after three to five years. Replacing it means sliding out the old strip, cutting the new one to length, and sliding it back in. The seal itself costs between $12 and $30 at any hardware store, depending on whether you have a 9-foot or 16-foot door. You will need a utility knife and about 20 minutes. The benefit is immediate: the gap under the door closes, and the AC leak into the garage stops, which matters in July when Richardson temperatures sit near 100 degrees.
2. Sensor Realignment
If your door refuses to close and the opener flashes a light, the photo eye sensors on either side of the door are likely out of alignment. These are the small plastic units mounted about six inches off the ground that project an invisible beam across the opening. When the beam breaks or the sensors drift, the opener assumes something is in the way and reverses. Realigning them usually means loosening a wing nut, aiming the sensor at its opposite number until the indicator LED goes solid, and tightening the nut. No tools beyond a screwdriver and a level. This happens frequently in Richardson homes built on expansive clay soil, because the garage slab settles and shifts, slowly moving the sensor brackets out of line over the course of a season.
3. Lubrication
A garage door that groans when it moves is telling you it has gone dry. The fix is a can of white lithium grease or a dedicated garage door lubricant, applied to the rollers, hinges, and the torsion spring itself. You want a thin coat, not a soak. Wipe away excess with a towel. Doing this twice a year extends the life of the hardware significantly. The cost is about $8 per can, which lasts a year. Do not use WD-40 here; it is a solvent and will strip the grease that is still doing its job.
4. Keypad Programming
The wireless keypad outside your garage door loses its programming when its battery dies or when a power surge resets the opener’s memory. Reprogramming it involves pressing the learn button on the opener’s motor unit, then entering a new four-digit code on the keypad within the 30-second window. The process is covered in the owner’s manual for every major brand, including Chamberlain, Genie, and LiftMaster. If you no longer own the manual, the manufacturer publishes the instructions as a PDF on their website. This job takes five minutes and costs nothing.
Each of these four tasks is one we regularly complete on Garage Door Repair in Richardson calls, but they are also genuinely safe for a homeowner to handle themselves. The common thread: none of them require you to release tension or load from any component.
DIY With Correct Tools and Research: The Middle Category
This category is where we see the most variance in outcomes across Richardson. A careful homeowner with a torque wrench and the willingness to read the manual can handle these correctly. A homeowner who rushes through them ends up calling us with a door that is now in worse shape than when it started. The distinguishing factor is not talent. It is patience and preparation.
Roller Replacement on Non-Tensioned Positions
Garage door rollers wear out unevenly. The top rollers on a standard door, especially those mounted on the non-tensioned horizontal track, can often be replaced without touching the spring system. This means removing the roller bracket from the door panel with a socket wrench, sliding the old roller out of the track, and inserting the new one. The catch: if the roller you are replacing is on the bottom panel or anywhere near the cable attachments, you are now in tension territory. Stop and call a technician. Only replace rollers that are clearly above the cable line and not bearing the door’s weight. A set of nylon rollers costs between $20 and $50 for a full door. The job takes about an hour if you go slowly.
Hinge Replacement
Door hinges connect the panels and allow the door to bend as it travels through the track radius. When a hinge cracks or the pivot pin wears out, the door gets noisy and may bind. Replacing a hinge means supporting the panel with a clamp or a second set of hands while you unbolt the old hinge. If the door is fully closed and you are working on a hinge that is not near a cable attachment, this is manageable. If the door is partially open, or if the hinge is on the bottom panel, you are again dealing with tension and should stop. The parts cost $15 to $40 each depending on the thickness of the steel and the door brand; Amarr and Wayne Dalton hinges are not interchangeable.
Opener Remote and Wall Console Replacement
This sits on the easier end of the middle category. Replacing a remote means pairing it to the opener using the learn button, which is the same process as programming a keypad. Replacing the wall console involves unscrewing the old unit, matching two low-voltage wires to the new one, and screwing it back on. The opener itself is not under tension when it is disengaged, so the risk is limited to confusing the wiring. The instruction manual is your friend here. Take a photo of the old wiring before you remove it so you can match the terminals exactly.
Track Bolt Tightening
Richardson’s clay soil expands and contracts with moisture, which means the vertical tracks on many garage doors gradually work loose from their mounting brackets. Re-tightening these bolts with a socket wrench is a legitimate DIY fix, provided the door is fully closed and you are not adjusting the track’s position relative to the door, only tightening what has vibrated loose. If the track itself is bent or has shifted far enough that the door is rubbing, you are now dealing with a loaded system and should stop. A bent track under tension is how rollers pop out and doors come off their guides.
The pattern here is consistent: bolt-tightening and good-research replacements are fine. Anything that changes the geometry of a loaded system is not. If you find yourself saying “I can probably just…” that is the moment to set down the wrench and pick up the phone.
Professional-Only Work: The Physics of a Torsion Spring
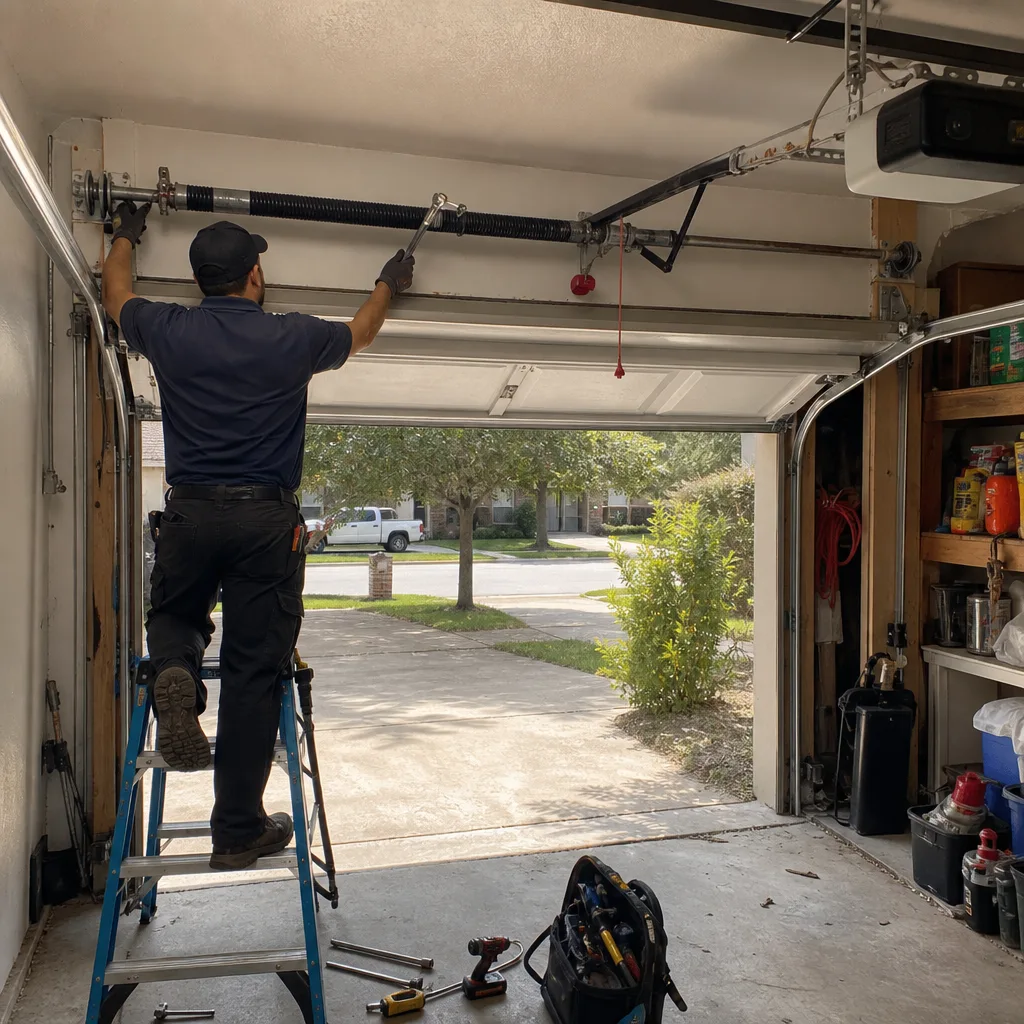
A torsion spring is a coil of hardened steel mounted on a shaft above the door opening. When you close the door, the spring winds tighter, storing the energy that lifts the door’s weight on the next cycle. A typical residential torsion spring on a double-wide Richardson garage door holds enough energy to lift roughly 130 to 160 pounds through seven feet of travel. That energy does not disappear when the spring breaks. It releases, usually all at once.
When a torsion spring snaps, the two halves unwind in opposite directions along the shaft, and the cones on either end spin with enough force to fracture bone. This is not a warning label. It is a mass-times-velocity calculation: the spring stored energy is in the range of 350 to 500 foot-pounds, and when that releases across a two-second window, the instantaneous force at the winding cone exceeds what a human hand can control. No amount of experience changes the math.
Cable work falls into the same category because the cables are the spring’s counterpart. The cable carries the spring’s force down to the bottom of the door. When a cable snaps or slips off its drum, the remaining cable is under the full load of whatever the spring is still holding. Reattaching a cable while the spring is wound is one of the most dangerous things a person can do with a garage door, because the moment the cable seats back onto the drum, all of that load comes alive at once.
This is also why we photograph the failed spring before quoting a replacement. Clause 4 of The Haven Standard exists because a broken torsion spring tells a story: the coil break pattern shows whether the spring failed from fatigue or from a wound-too-tight installation, and the wire diameter stamped on the cone tells us what we are replacing. You should never have to take a technician’s word for it. You should see the part. That founding rule, at Servo Garage Doors Richardson, is why every visit ends with a documented photo record of what we found and what we did.
One more note on springs: if your door has two springs and one is broken, both need replacement. The surviving spring is the same age as the broken one, and age, not usage, is what kills springs. They are rated in cycles, not years, and both springs on a door see the same number of cycles.
Insurance and Warranty: What DIY Actually Costs in Texas
The financial risk of DIY garage door work in Richardson extends beyond the repair itself. Two systems sit behind every homeowner decision: your door’s manufacturer warranty and your property insurance policy. Both have opinions about who touched the door.
Manufacturer Warranty
Most garage door manufacturers, including Clopay and Wayne Dalton, write their warranties so that they cover defects in materials and workmanship, not damage from improper installation or repair. If a homeowner replaces a hinge, over-tightens a bracket, and the panel cracks a year later, the manufacturer’s first question will be who did the work. If the answer is the homeowner, the warranty claim is often denied, not because the homeowner is incompetent, but because the manufacturer has no way to verify the work was done to specification. A documented professional repair, with a paper trail and a photo record, preserves the warranty because the work is verifiable.
Property Insurance
Texas homeowners insurance policies generally cover sudden and accidental damage to the home, including garage doors. But insurers look closely at injury claims and property damage claims that follow a DIY repair. If a spring you replaced fails and damages your car, the adjuster will ask who installed the spring. If the answer is the homeowner, the insurer may determine the loss was caused by faulty workmanship, which is an excluded peril under most standard homeowner policies in Texas. That leaves the homeowner holding the full cost of the repair and the damaged property. In our experience in Richardson, the insurance conversation never goes well when the homeowner was also the installer.
Liability
If a DIY repair fails months later and injures a family member or a guest, the picture is the same. The homeowner’s insurance will cover medical payments up to the policy’s med-pay limit, but the liability determination will hinge on who modified the door. A professional repair with documentation shifts that liability to the professional’s insurance, which is part of what you are paying for when you hire a licensed garage door company.
This is the part of the DIY-versus-professional conversation that most guides skip. The cost of the repair is only one line item. The cost of a voided warranty or a denied claim is where DIY gets expensive.
How to Document a DIY Repair Like a Professional Would
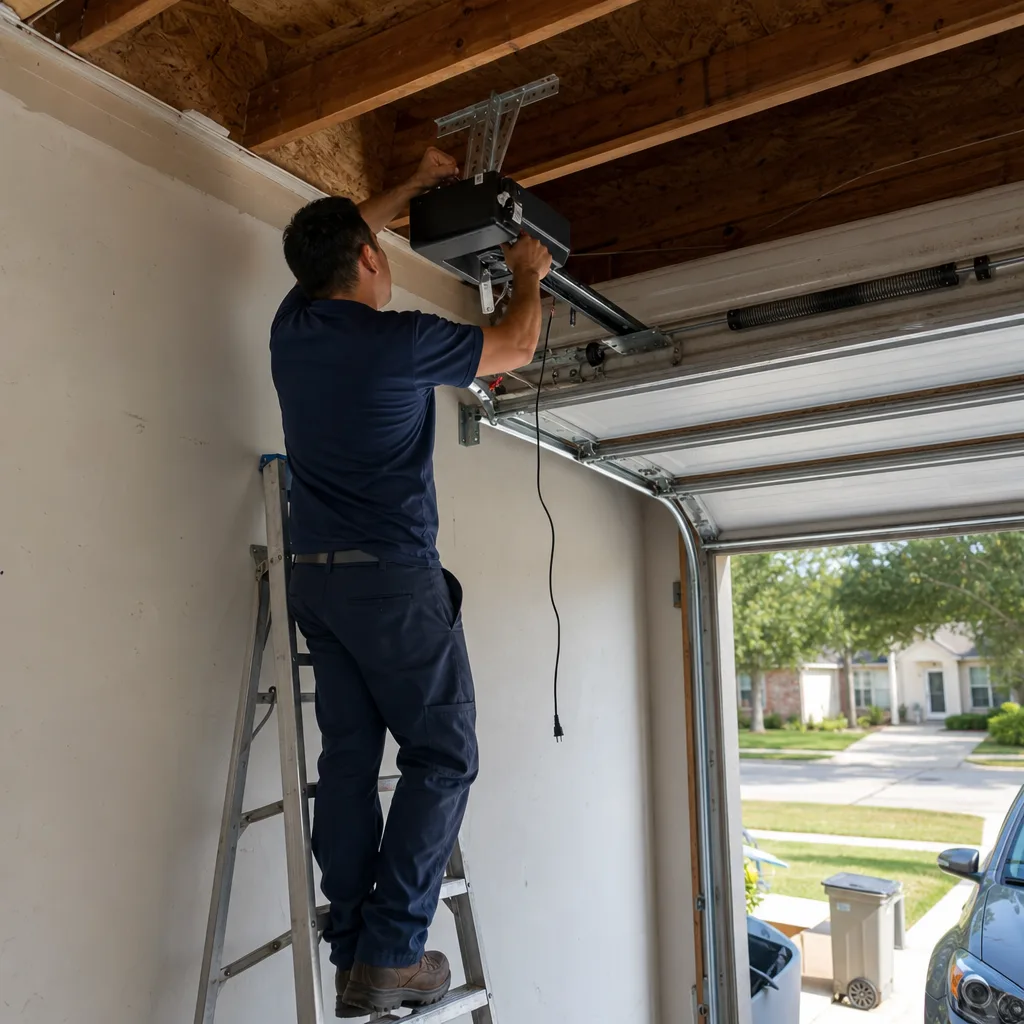
If you complete one of the DIY tasks in this guide, the most valuable thing you can leave behind for the next technician is a record of what you did. This is not about protecting yourself from liability, though it does that too. It is about making the next repair faster and more accurate. Here is how we document a repair, and how you can do the same:
- Photograph the part before you touch it. Before you remove a hinge, a roller, or a seal, take a photo from two angles: one close-up showing the part number or size marking, and one wide shot showing the part in context on the door. This gives the next technician a baseline.
- Write down the part number and brand. The hinge you remove will have a gauge number stamped on it. The roller will have a diameter. The seal will have a width. Write these down along with the door brand, which is usually printed on the bottom panel near the handle.
- Note the date and the weather. This sounds trivial, but Richardson’s climate directly affects garage door hardware. Knowing that a hinge was replaced in August, when temperatures were near 100 degrees, tells the next technician something about the thermal stress the part endured.
- Photograph the part after you install it. The after photo proves what was done and how it looked on completion. Match the before angle so the record is easy to compare.
- Store the record somewhere you can find it in three years. A folder on your phone, a cloud photo album, a note in a home maintenance app. The system matters less than the consistency. When you eventually sell your Richardson home, this record is also useful documentation for the new owner.
The purpose of documentation is not to demonstrate diligence, though it does. It is to remove guesswork. Every professional garage door technician in Richardson has walked up to a door that someone worked on years ago and spent twenty minutes identifying the part that was installed, because no one wrote it down. A photo and a part number solve that.
What DIY Saves You in Richardson, in Real Dollars
The financial argument for DIY is strongest on the low end of the task list, and it fades quickly as you move up. Here is a straight comparison for the most common jobs in Richardson, using current material prices and typical professional rates in this market. For deeper numbers, see our Garage Door Cost Breakdown: The Richardson Homeowner’s Reference for 2026:
- Bottom seal replacement: DIY material cost $12 to $30, professional cost $80 to $140. Time saved by the professional: about 30 minutes. Verdict: solid DIY savings.
- Sensor realignment: DIY cost $0 if you own a screwdriver, professional service call cost $75 to $120. Verdict: attempt this yourself first.
- Lubrication: DIY cost $8, professional cost $60 to $90. Verdict: DIY makes sense.
- Roller replacement (non-tensioned only): DIY cost $20 to $50 for a set, professional cost $100 to $180. Verdict: DIY is reasonable if you know which rollers are safe to touch.
- Torsion spring replacement: There is no DIY number that makes sense here. The spring itself costs $60 to $120 wholesale, but the risk is not a financial line item. Professional replacement in Richardson typically runs $180 to $340 per spring, installed, and includes the labor of a licensed technician, the disposal of the broken spring, and a warranty that survives the first week.
- Cable replacement: No DIY option. The cable is under tension and the labor cost of a professional replacement, typically $120 to $180, is what you pay for the assumption of risk.
On the safe-DIY tasks, a Richardson homeowner can save $50 to $100 per incident without exposing themselves to meaningful risk. On the professional-only tasks, the savings do not exist in any real sense, because the risk-adjusted cost of a DIY attempt is higher than the professional fee. This is the category-by-category answer the headline question deserves.
Common Mistakes to Avoid
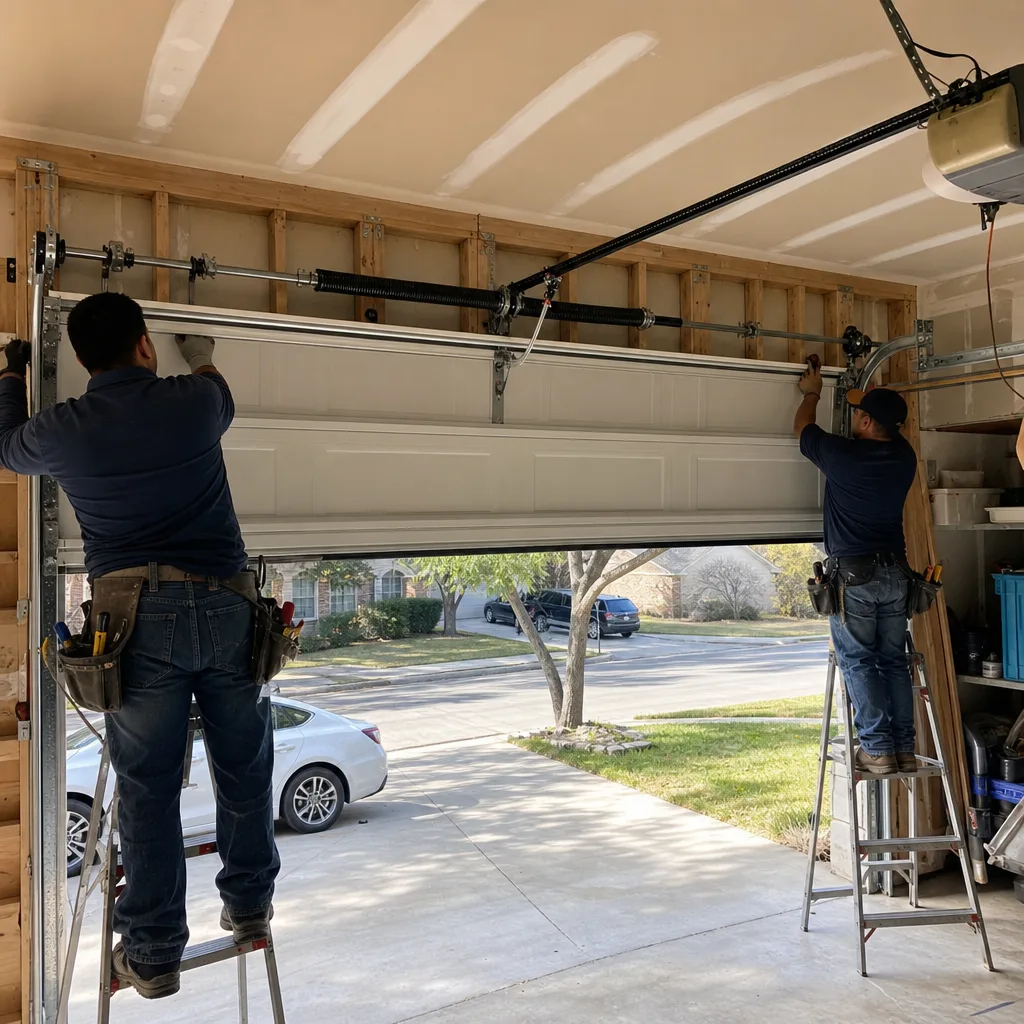
- Using the wrong lubricant. WD-40 and penetrating oils strip the grease from rollers and hinges, and spraying them on a torsion spring accelerates wear. Use white lithium grease or a purpose-made garage door lubricant. This is the single most common mistake we see in Richardson garages.
- Replacing one spring when both are worn. A paired spring system shares the load, and both springs have the same cycle count. Replacing one leaves the other near failure, and you will pay for the same labor twice. Replace both.
- Adjusting the spring’s tension by feel. Torsion spring tension is set by winding the spring a specific number of quarter-turns, based on the door’s weight and height. There is no version of this adjustment that can be done safely without the proper winding bars and the manufacturer’s tension chart. Guessing is how doors become unbalanced and cables jump drums.
- Disconnecting the opener without securing the door. Pulling the red release cord disconnects the door from the opener, which means if the spring is broken or the door has a broken cable, the full weight of the door is now in freefall. Secure the door in place before you disengage the opener. Every time.
- Ignoring the garage slab settlement. Richardson homes on expansive clay soil see significant slab movement, which takes the tracks and sensors with it. If your door repeatedly goes out of alignment, the problem may be the slab, not the hardware. A technician can tell you the difference; a homeowner usually cannot.
- Not photographing the work. The photo record is not vanity documentation. It is your warranty protection, your insurance evidence, and your service history for the next technician. A homeowner who skips this leaves nothing behind but a vague memory.
When to Call a Professional
Call a professional when the task involves a torsion spring, an extension spring, a cable, a drum, or any part that moves when the door moves and is connected to those systems. Call a professional when the door is off its tracks, when you hear a loud bang followed by the door refusing to move, or when the door is sagging on one side. Call a professional when you have already attempted a repair and the door is now worse than it was. And call a professional when you find yourself wondering whether you should. That instinct is a knowledge signal, not a failure. Servo Garage Doors Richardson offers free estimates in Richardson, and every job includes a written price and written scope before any work begins. Call (972) 980-5944.
Frequently Asked Questions
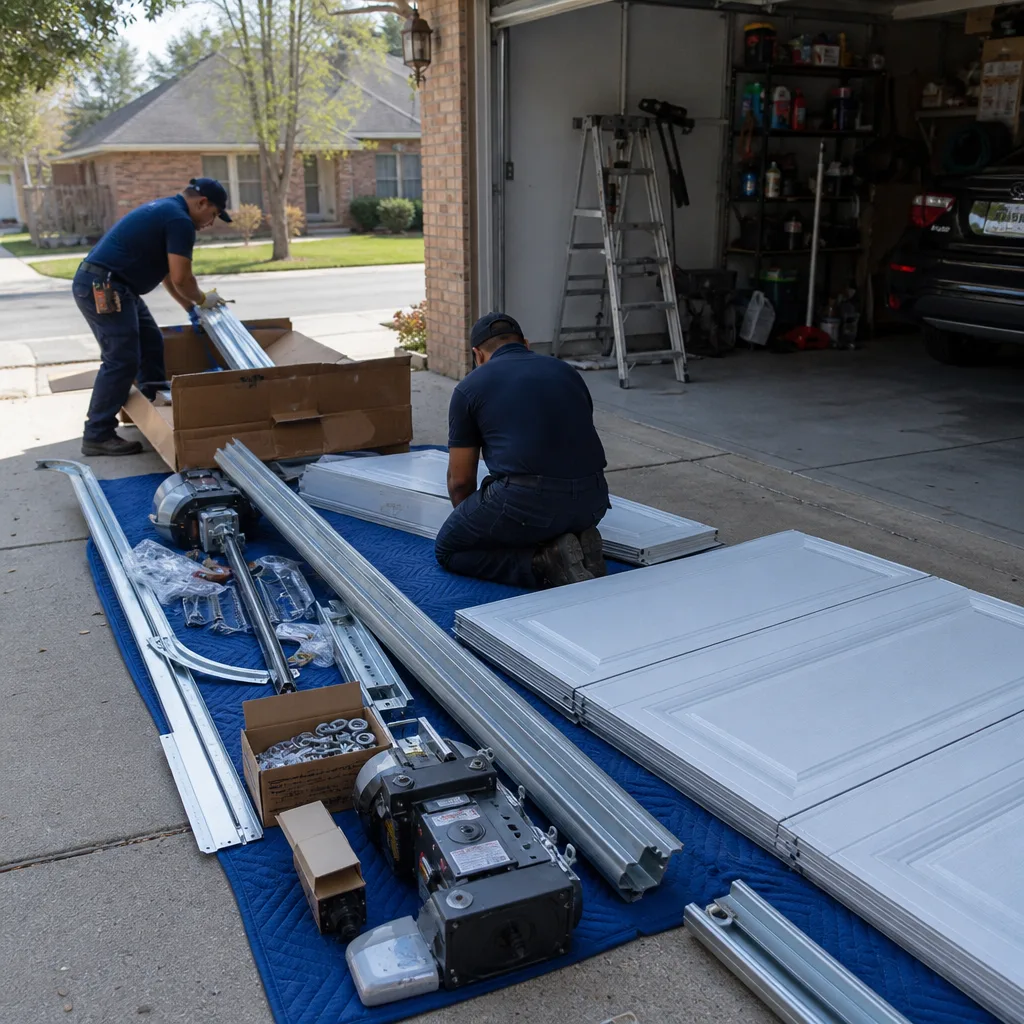
Typical garage door repairs in Richardson range from $75 for minor adjustments and service calls to $340 per spring for torsion spring replacement. The median repair call falls between $120 and $200. The exact price depends on the part, the door’s weight and size, and whether the job involves the counterbalance system. Call (972) 980-5944 for a written, flat price before any work starts, since our estimates are free and carried out under Clause 1 of The Haven Standard.
No. A torsion spring holds between 350 and 500 foot-pounds of stored energy, and releasing that energy without the proper winding bars and training is how wrists get broken and fingers get lost. This is not a warning for beginners. It is a warning for everyone. Hire a licensed technician for spring work.
Homeowners insurance in Texas typically covers sudden and accidental damage to a garage door, such as storm damage or a vehicle impact, but not wear-and-tear repairs like a broken spring or a worn roller. If a DIY repair causes the damage, the claim is likely to be denied as faulty workmanship, which is excluded under standard Texas policies.
Garage door springs are rated in cycles, not years, and a standard spring is rated for about 10,000 cycles, which is roughly 7 to 10 years of average use. Richardson’s heat and the dust from clay soil can shorten that lifespan if the spring is not lubricated regularly. When one spring breaks, both should be replaced.
Most garage door repairs and part replacements do not require a permit in Richardson, but a full door replacement that changes the opening dimensions or the structural header may. A professional installation company will handle the permitting conversation with the city if one is required. For part replacements and spring work, no permit is needed.
That bang is almost always a torsion spring breaking. Stop using the door immediately, including the opener. The door is now supported only by whatever spring remains and the cables, and attempting to open it manually can cause a cable to slip and the door to fall. Call a professional. Servo Garage Doors Richardson answers emergency calls 24/7 at (972) 980-5944.
The Bottom Line
The DIY versus professional question has a clear answer when you sort the tasks by risk category. Bottom seals, sensor alignment, lubrication, and keypad programming are homeowner work, full stop. Roller and hinge replacement on non-tensioned positions are manageable with research and patience. Torsion springs, extension springs, cables, and drums are professional work, not because professionals are smarter, but because those components store energy that does not care how careful you are. In Richardson, where the clay soil shifts and the summers bake hardware, the difference between a safe DIY job and a dangerous one comes down to whether you are touching the counterbalance system. For more guides & resources on keeping your door reliable year-round, browse our blog. If you are, hire a licensed technician and get the written price before the first tool comes off the truck.
Written by Marcus Deller, Owner at Servo Garage Doors Richardson, serving Richardson since 2015.